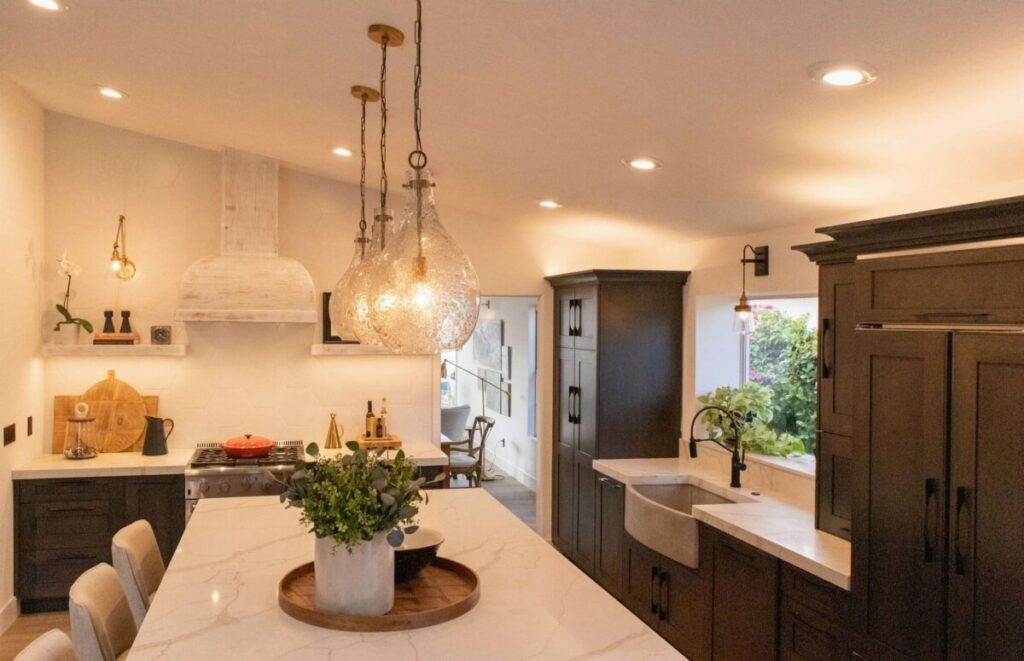
When renting a home, there are limited options to customize the home just the way you want it. Unlike owning the property, a tenant can’t make any major renovations. There is also no reason to spend money improving a property when the improvements would only benefit the property owner in the long term. There are small things that can be done, with the approval from a landlord, that is inexpensive and can make your rental unit feel like a home. If your intention is to live in the property for a few years, consider making minor changes like replacing light fixtures to update the look. Here’s how to replace a light fixture:
Step 1: Turn off the power
You don’t want to accidentally electrocute yourself so go to your breaker board and flip the breakers off. If you turn off just the light switch, there is still a possibility you can be electrocuted. You can also get a non-contact voltage tester pen to test the wires before starting just to be sure you turned off the correct breakers.
Step 2: Remove the light bulbs
This will allow you to unscrew the light fixture easier and ensure you don’t accidentally break any light bulbs in the process of removing the fixture.
Step 3: Unscrew nuts and screws
Unscrew any nut or screw that is holding the fixture base to the ceiling box. Make sure to keep the screws somewhere where you won’t lose them, just in case you need them for attaching your new fixture.
Step 4: Detach fixture
Once you have removed all the screws and nuts, let the fixture drop exposing the connecting wires. Remove all of the electrical tape or wire nuts from the black(hot) wire, the white (neutral) wire, and if present, the green(ground) wire.
Step 5: Attach new fixture
Use wire nuts to connect the wires from the fixture to the corresponding wires from the ceiling. Connect the black (hot) wire to the black wire, the white (neutral) wire to the white, and secure them with the wire nuts. Attach the ground wire to the ground screw which comes with the new fixture.
Step 6: Connect fixture base to the ceiling box
Gather the screws and nuts that came with the new light fixture. Raise the new fixture and align it with the proper holes and tighten the screws and the nuts securing the new light fixture to the ceiling box.
Step 7: Attach remaining parts
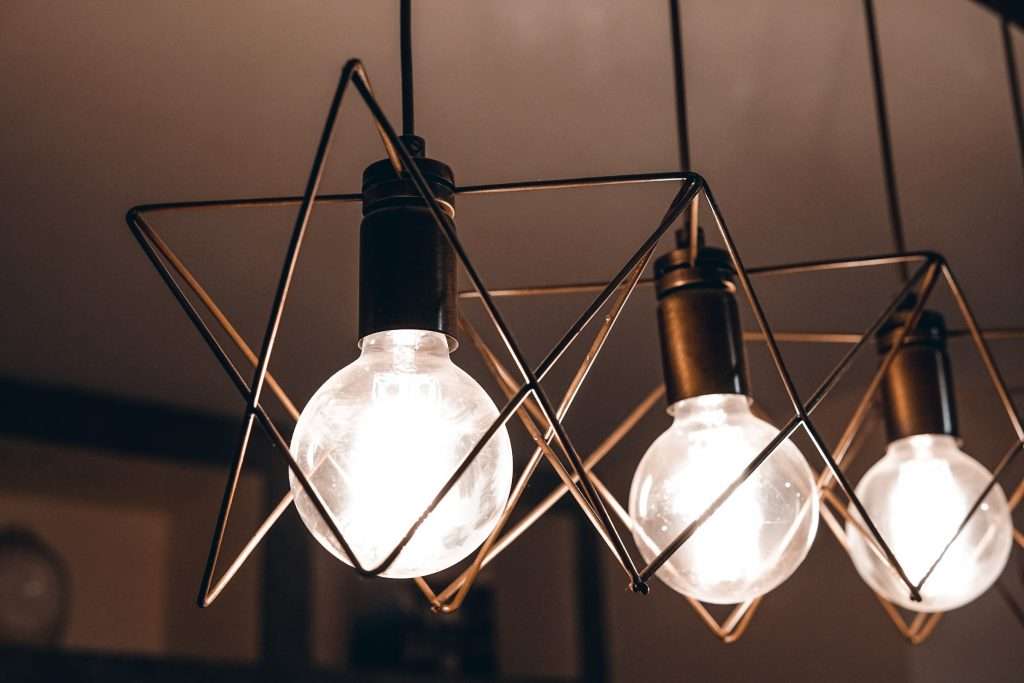
Once you’ve secured the fixture properly, put in the new light bulbs. Make sure you’re using the correct bulbs recommended for the specific light fixture. After screwing in the bulbs, attach the light cover. The last thing to do is turn the breakers back on and test the light fixture to make sure everything works properly.
Getting help
This project can be easier if you have someone to help you with the installation. Especially if that person has experience with changing light fixtures. If you are renting an older home or apartment, there is a possibility the wiring attached to the ceiling box may need to be changed in order to prevent overheating and possible electrical fires. If you’re unsure if your home falls into this category, or aren’t comfortable replacing the fixture yourself, you can hire an electrician or contact your landlord and ask for help.
Want to explore property management services that are right for you?