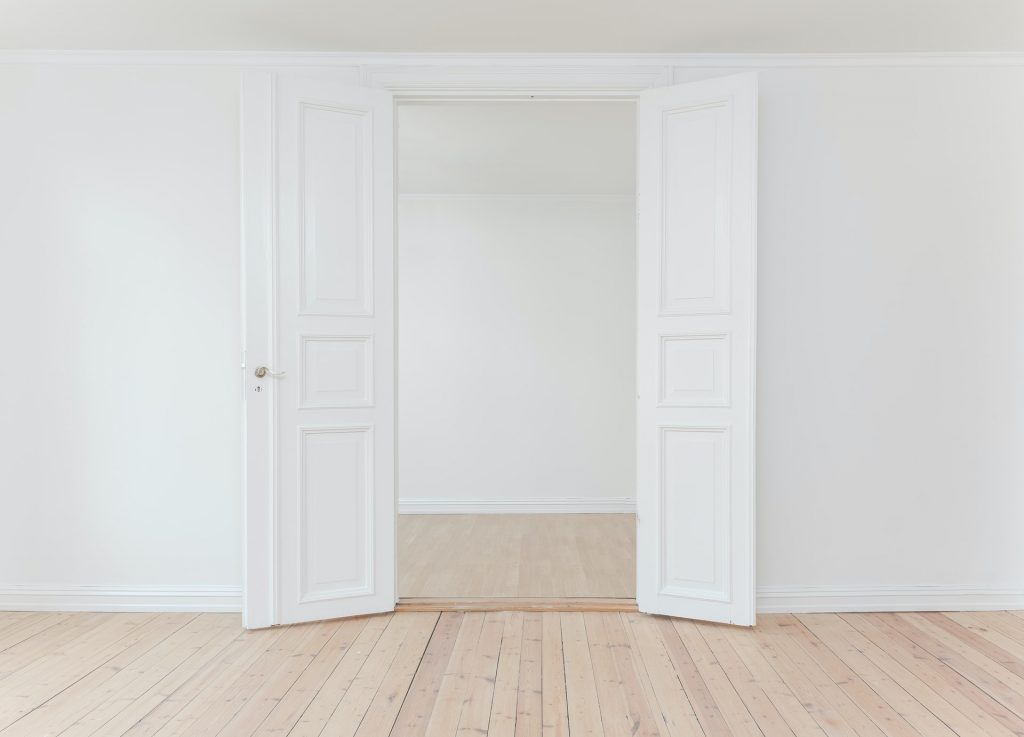
If you plan on living in the same rental unit for over a year, it’s reasonable to expect some minor cosmetics may need to be fixed. The high traffic areas of the home are areas that will see the most wear-and-tear. One place that can see a lot of damage over time is the door jamb. This can come from moving furniture, regular bumping and scraping, and just the opening and closing of the door over time. Instead of just living with this eyesore, tenants can easily paint the door jamb on their own.

Step 1: Take the door off the hinges
With a screwdriver and a hammer, remove the pin from the top of the hinges. Once the pins are removed, live the door up and pull it out. This will be a good time to replace the hinges and the doorknobs if they look a little worn or outdated.
If you plan on painting the door the same color as the doorjamb, you can just keep the door on the hinges. If this is your plan, make sure you cover the hinges with tape to make sure you don’t get any paint on them.
Step 2: Protect the floor
Place some paper, cloth, canvas, or plastic on the floor around the area you are painting. Use some tape to secure the floor coverings around the edges. Make sure none of the floor around your work area is exposed.
Step 3: Use painter’s tape
Line the door frame and any other exposed area you don’t want to paint with painter’s tape. If you are keeping the door on the hinges, use painter’s tape to cover the hinges as well.
Step 4: Repair the frame
If there are any chips, gouges, or scratches in the frame, use some wood putty or spackling to fill and smooth those over. If you don’t do this, the damages will still be visible after painting the door jamb. Use caulk to fill any gaps between the frame and the wall.
Step 5: Clean the frame
Use a sponge and soap to clean the frame. This will remove any grease, dirt, or stains. This will help the paint stick and remove any stains that might show through the new layer of paint. Use a non-sudsy detergent like Spic & Span for the best results.
Step 6: Dry the frame
Pat the frame dry with a towel. Microfiber towels work best. After going over the frame with a towel, use your fingers to test the frame to make sure it is completely dry before moving on to the next step.
Step 7: Sand the frame
Using 100 grit sandpaper, sand the area you intent to paint. The purpose of this isn’t to remove any of the paint but to rough it up enough that the new coat of paint will be able to adhere properly.
Step 8: Wipe the frame
Using a damp cloth, wipe the frame to remove any residue leftover from sanding the frame. This will help ensure that the paint adheres to the frame.
Step 9: Use a brush
A brush will help you paint with more precision. Choose a brush that is no wider than the frame. A brush with an angled tip will make it easier to get into the tight spaces on the frame
Step 10: Start in the corners
Start in the corners working inside out. Use long sweeping strokes down the jamb until you reach the bottom. Keep the paint on the tip of the brush to avoid globbing. Using up and down strokes will help use less paint and be more efficient.
Step 11: Paint the frame
After completing the jamb that is covered with the door is closed, move to the outside frame. In the same up and down sweeping motion, go from the top to the bottom of the frame. Use overlapping strokes to avoid any visible seams.
Step 12: Paint the top frame
This time, use long strokes from left to right to paint the top of the frame. If you can’t reach that high, make sure you use a stepping stool.
Step 13: Finishing touches
Let the paint dry. After it has dried, look over the frame for any areas that might need to be touched up and go over them with the brush. If it needs it, go over the whole frame with another layer of paint.
Step 14: Hang the door
If you removed the door from the hinges, hang the door back on the hinges. Use a hammer to drive the pins down and secure the door. After that, you’re all done. This will help keep your rental unit looking brand new.

