When renting a home, a tenant is limited in the options when it comes to customizing the property. Without the ability to invest in any renovations or long-term projects, it comes down to mostly decor. This is really the only option when it comes to making a rental unit feel like you’re own home. If you’re planning on staying in a rental unit long-term, it’s a good idea to make it feel like a home instead of just a temporary rental unit. One way to do this is to stagger picture frames on a wall. Here’s how to do it:
Step 1: Select a wall
You’ll want to choose a wall that you want to make the centerpiece of your home. This will preferably be in the living room area where most of your guests would gather. This will be like a blank slate so pick one of the larger walls you want to cover, This will help the room feel less empty. One option if to use the wall the TV has been mounted on and stagger the framed pictures around the mounted TV, This will help the TV blend in as part of the centerpiece.
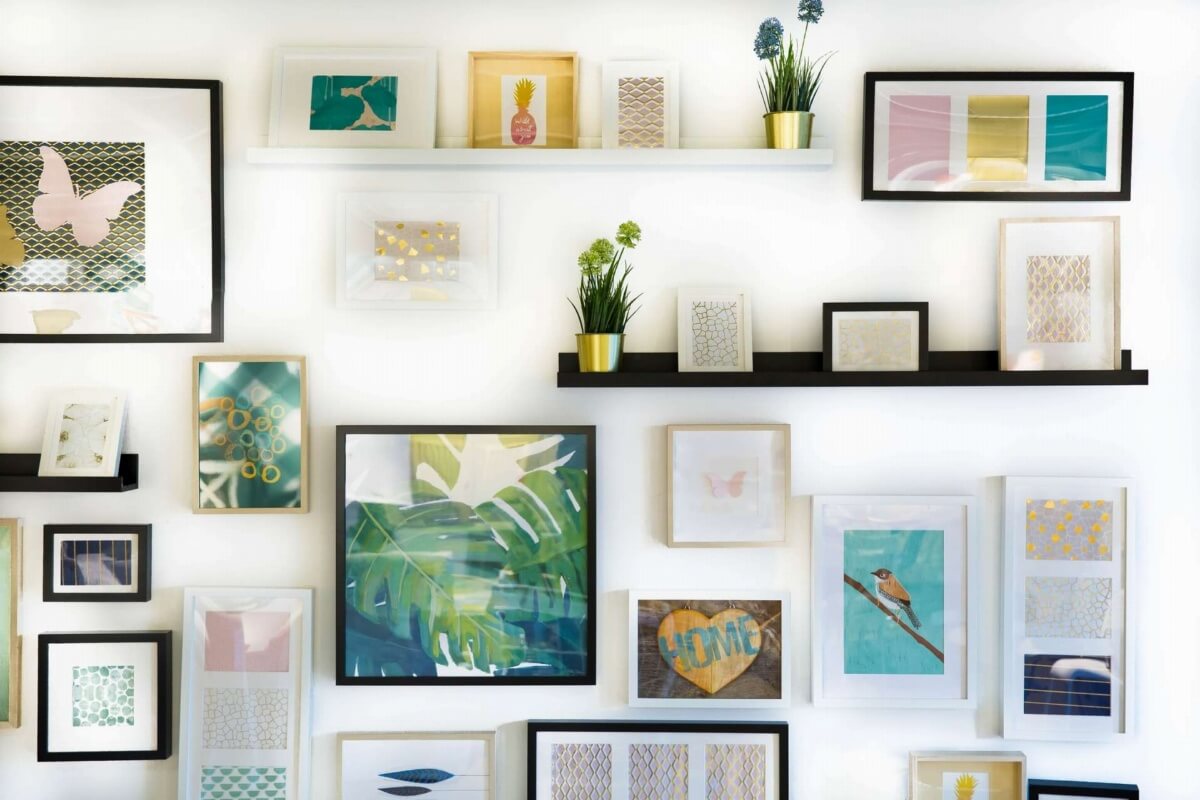
Step 2: Select your frames

Not all the frames need to be the same size or color. You can select a wide variety of picture frames. This will help the wall be more visually appealing. It will also help to draw attention towards the wall instead of just blending into the rest of the home.
Step 3: Select a theme
After you have your frames, make sure you select a theme for the pictures that will go in them. It can be very broad. You can choose to have it reflect the neighborhood, city, or region you live in. You can have it reflect some of your specific interests. It would just be photos of family and friends. Any theme will work so long as there is some cohesiveness.
Step 4: Decide where to place them
Since it is difficult to know how the placements will look before actually putting them up, you can use painter's tape to outline where they would go. Select each frame and place them on the wall outlining them on at least two sides at a 90-degree angle. Once you have outlined the frames, take a step back to see how it looks from the other end of the room. Adjust accordingly to your own taste.
Step 5: Hang the frames
The only thing left to do at this point is to hang the pictures in the designated spots on the wall. Use a leveling tool or app on your phone in order to make sure all the frames are even. Now you’re all set and the centerpiece of your home is ready.