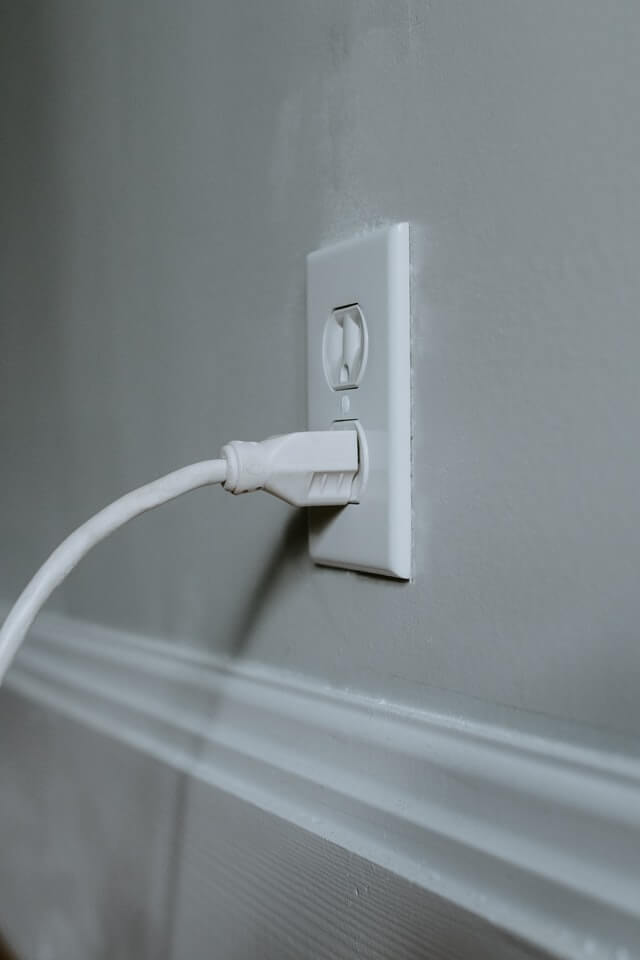
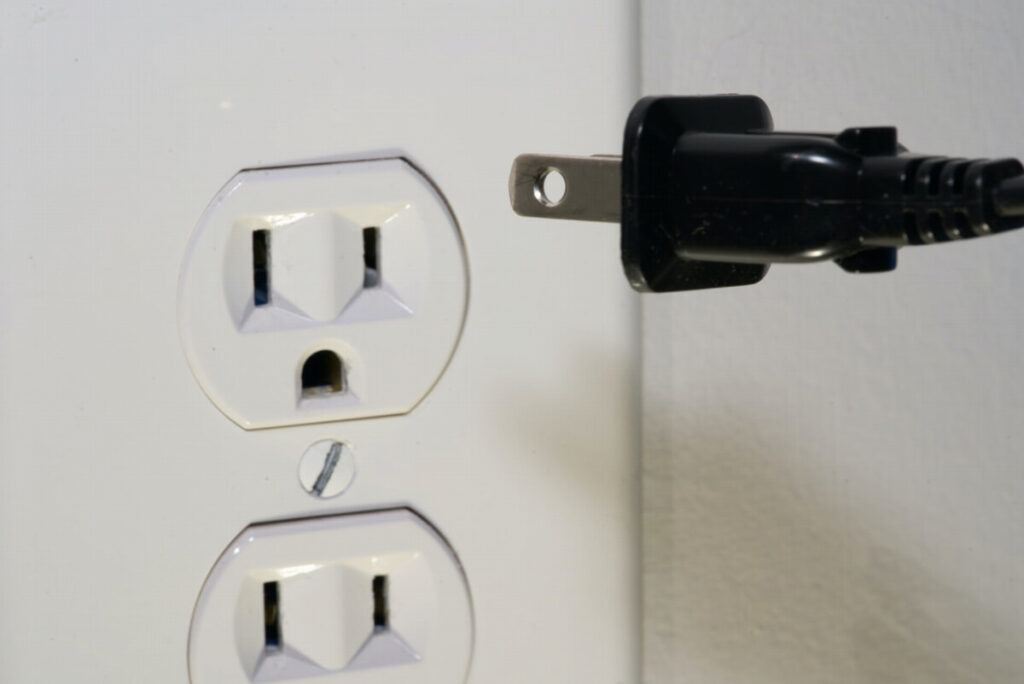
There are a number of ways to reduce costs when it comes to maintaining your rental property. One way to do this is to make a list of small repairs around the house that can be learned and done on your own. This will help by reducing labor costs for minor repairs. One simple repair that can be learned easily and done on your own is to replace the electrical outlets.
This is a simple and inexpensive replacement that can improve the look and functionality of your rental unit. Replacing old outlets will also improve the safety of your rental unit as well. Here is how to replace your electrical outlets:
Step 1: Turn off the power
Cut the power to the outlet on the breaker panel. If you are unsure of which breaker is connected to the outlets you’re replacing, just cut the power to the entire house to be safe.
Step 2: Remove the faceplate
With a screwdriver, remove the screws to the faceplate and take remove the faceplate entirely. Be careful when removing as the faceplate may be stuck to the paint.
Step 3: Remove the outlet
Using a screwdriver, remove the screws connecting the outlet to the box. Once you have the screws removed, carefully pull the outlet out of the box. It’ll be connected to the electrical wires, so don’t pull too hard.
Step 4: Detach wires
Loosen the screws on the outlet where the wires are attached to it. Once they are loose, remove the two electrical wires and the grounding wire from the outlet.
Step 5: Attach the grounding wire
Loop the grounding wire around the screw in the box leaving enough length to connect the grounding wire to the outlet as well. The grounding wire will either be green or a bare copper wire.
Step 6: Attach the outlet
Next up, you’ll need to attach the electrical wires and the grounding wire to the new outlet. You’ll know where to connect the wires based on the color of the screw and the color of the wires. Loosen the screws and wrap the wires around the corresponding screws, and tighten them. The black wire connects to the brass screw. The white wire connects to the silver screw, and the grounding wire connects to the green screw.
Step 7: Insert outlet into the box
Gently insert the outlet into the box. Once the outlet is where you want it, use a screwdriver to secure it in place. Don’t tighten it too much. Instead, tighten it just enough so it doesn’t move.
Step 8: Attach the faceplate
Using the screws and a screwdriver, attach the faceplate to the outlet. Make sure you tighten the screws only enough to secure the faceplate. If you screw them in too tight, you can crack the faceplate or run the risk of it cracking from being bumped later on.
Step 9: Turn the power on

Head to your breaker panel and turn all the power back on. You can test the outlet with a phone charger to make sure everything is working properly. If you opted to install a smart outlet, you can also now take the necessary steps to set it up.

